6 7
Wireless Setup Guide
Windows XP Service Pack 2 or Later
Troubleshooting Guide
The WT-2 is a complex device and problems may
arise when trying to set it up the rst time. This section is
designed to guide you through the process of identifying
those problems and rectifying them.
Step 1: Ensure settings have been loaded properly.
Sometimes the WT-2 will not properly load all of the
settings from the memory card. It can be very sensitive
to the manner in which you leave the menus after loading
the settings le. Please carefully repeat steps 12-15 in the
instructions in order to reload the settings.
If it is still not connecting properly, please check the
settings in the camera and compare them to the ones listed
in the instructions contained in this document.
Step 2: Use the Connection Wizard to isolate the problem.
The WT-2 offers a connection wizard to help simplify
the setup process. As you enter the settings into this
system, it will try them immediately. This allows you
to test each value and identify which setting is causing
the problem.
To initiate the connection wizard go to the top level of
the Wireless LAN menu in the camera, switch OFF the
Wireless LAN system and press the button. Open
the ITP Control Centre on your computer and use the
values provided there to configure the camera via this
interface.
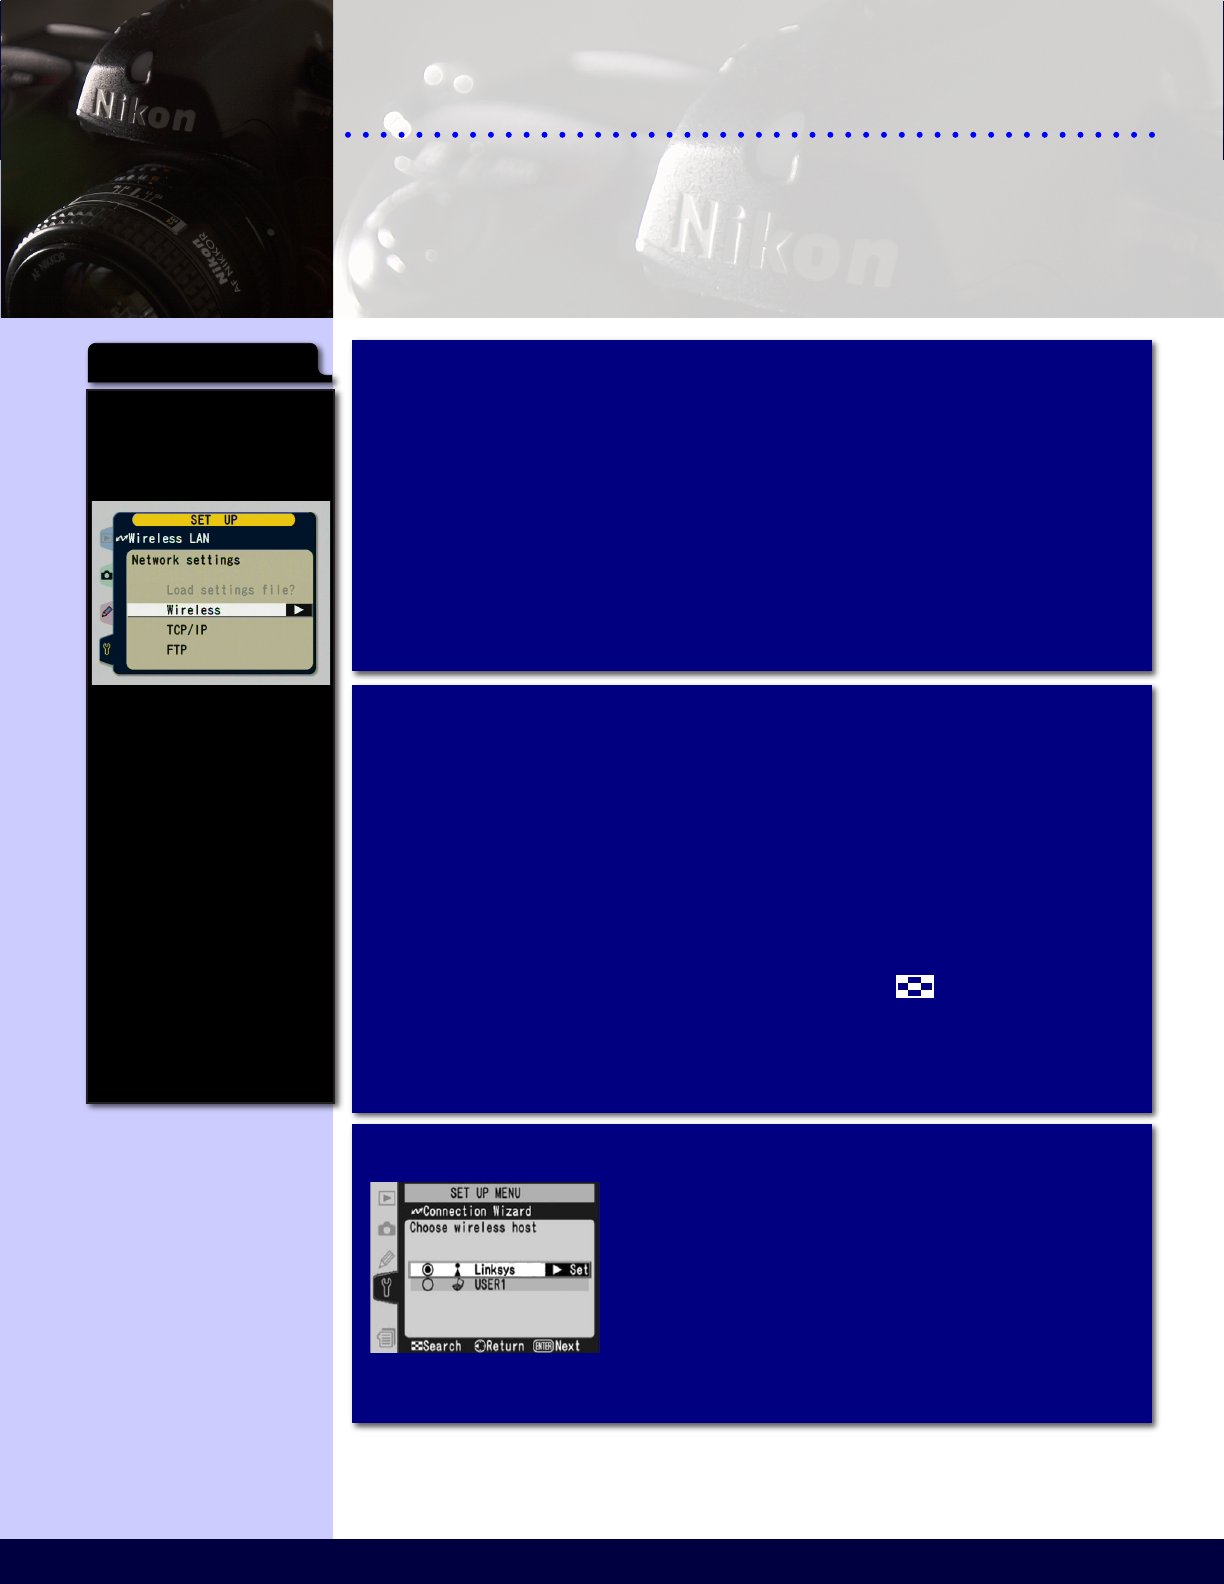
If the prole was not properly
loaded onto the card the
‘Load settings file?’ entry will
be greyed out as shown in the
following screen capture:
If this happens, please replace
the Compactflash card back
into the computer. Return to
the Control Centre and press
the Configure WT-1/WT-2/
WFT-E1 link to reload the
profile on the card.
Repeat steps 10 through 15,
taking special care to ensure
that the drive letter specified
in step 10 is correct. It is
advised that you verify your
selection in Windows Explorer
before going on.
If everything was done
correctly this time, the entry
should be available and you
will be able to continue on.
Troubleshooting
Step 2A: Select the wireless network.
Once the connection wizard is started,
it will first show you a list of available
wireless networks. Select the appropriate
network and then press the Enter
button to move on to the next step. If
the selected network uses encryption,
you may be prompted for additional information.
 (8 Seiten)
 (48 Seiten)
 Manymanuals.com
 Manymanuals.de
 Manymanuals.fr
 Manymanuals.it
 Manymanuals.pl
 Manymanuals.cz
 Manymanuals.es
 Manymanuals-pt.com
Kommentare zu diesen Handbüchern